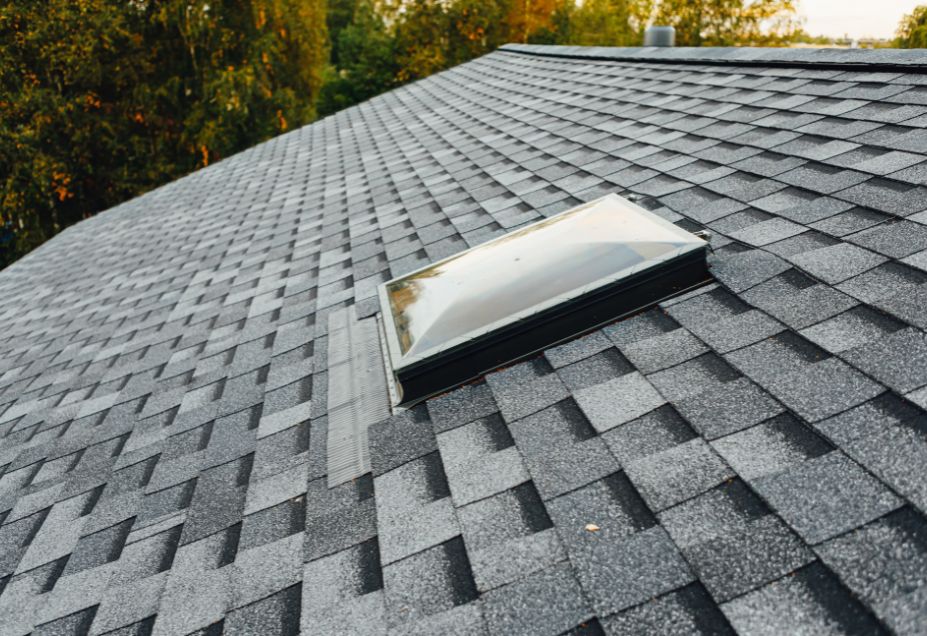
How to Repair Granular Loss on Roof?
Your roof is your home’s first line of defense against the elements, and it is essential to keep it in good condition to ensure the safety and longevity of your property. One common issue that many homeowners face is granular loss on their roofing materials.
Granular loss can lead to a variety of problems, including leaks, reduced energy efficiency, and a compromised roof structure. In this comprehensive guide, we will walk you through the process of repairing granular loss on your roof step by step.
Understanding Granular Loss
Granular loss occurs when the small, protective granules on the surface of asphalt shingles or other roofing materials wear away over time. These granules serve several crucial functions, including UV protection, fire resistance, and aesthetic appeal.
When they are lost, your roof becomes vulnerable to various environmental factors like rain, wind, and sunlight. Granular loss can result from natural aging, weathering, hail damage, or poor-quality roofing materials. It’s important to address granular loss promptly to prevent further damage to your roof.

5 Steps to Repair Granular Loss on Roof
1. Tools and Materials You Will Need
Before you start repairing granular loss on your roof, gather the necessary tools and materials:
Tools:
- Safety harness and rope
- Ladder
- Roofing hammer
- Pry bar
- Utility knife
- Caulking gun
- Paintbrush
- Broom
- Garden hose with a nozzle
Materials:
- Replacement shingles (matching the existing ones)
- Roofing sealant
- Roof coating (optional)
- Roofing nails
- Roofing cement
- Roofing felt (if needed)
-
Safety Precautions
Safety should be your top priority when working on your roof. Follow these safety precautions:
- Use a safety harness and rope to secure yourself to the roof.
- Inspect the ladder for stability and ensure it reaches beyond the roof’s edge.
- Wear non-slip shoes and appropriate clothing.
- Check the weather forecast and avoid working on the roof during adverse conditions.
- If you’re not comfortable with heights or have a steep or high roof, consider hiring a professional.
-
Roof Inspection
Begin by thoroughly inspecting your roof to identify areas with granular loss and any other damage. Look for discolored or bare spots on the shingles where granules have worn away. Check for loose or damaged shingles, as well as signs of leaks or water damage on the interior of your home.
-
Cleaning the Roof
Before making any repairs, it’s essential to clean the roof’s surface:
- Remove debris: Use a broom or leaf blower to clear away leaves, branches, and other debris from the roof.
- Moss and algae removal: If your roof has moss or algae growth, use a garden hose with a nozzle to gently spray the affected areas. Do not use a pressure washer, as it can damage the shingles. Apply a moss and algae remover if needed, following the manufacturer’s instructions.
- Mildew and mold: If you notice mildew or mold, clean it with a mixture of water and mildew remover, scrubbing gently with a soft brush. Rinse thoroughly.
-
Repair Methods
Once your roof is clean and you’ve identified the areas with granular loss, you can proceed with the repair process:
- Shingle Replacement:
- Carefully lift the damaged shingle: Use a pry bar to lift the shingle above the damaged one. Be gentle to avoid damaging the surrounding shingles.
- Remove the damaged shingle: Once the shingle is lifted, use the roofing hammer to remove the roofing nails securing it in place.
- Install the replacement shingle: Slide the new shingle into position, aligning it with the surrounding shingles. Nail it in place with roofing nails and seal the nail heads with roofing cement.
- Seal the edges: Apply roofing sealant along the edges of the replacement shingle to ensure a watertight seal.
- Sealant Application:
- Identify the areas with granular loss or small cracks in the shingles.
- Use a utility knife to clean any loose granules or debris from the damaged area.
- Apply roofing sealant generously over the damaged area, extending it slightly beyond the affected region.
- Press down firmly to ensure the sealant adheres to the shingle.
- Allow the sealant to dry thoroughly according to the manufacturer’s instructions.
- Roof Coating (Optional):
Roof coating can be applied to extend the life of your roof and protect against granular loss. It acts as a barrier against UV rays and weathering. Follow these steps:
- Clean the roof thoroughly, as mentioned earlier.
- Choose a suitable roof coating product, ensuring it’s compatible with your roofing material.
- Apply the coating using a paintbrush or a roller, following the manufacturer’s instructions for coverage and drying times.
- Allow the coating to dry completely before walking on the roof or subjecting it to rain.
Preventing Granular Loss
Prevention is key to maintaining a healthy roof. Here are some tips to minimize granular loss:
- Schedule regular roof inspections to catch issues early.
- Trim overhanging tree branches to prevent them from scratching or damaging the roof.
- Ensure proper attic ventilation to prevent excessive heat buildup, which can accelerate granular loss.
- Clean your gutters regularly to prevent water backup and ice dams, which can damage shingles.
- Replace missing or damaged shingles promptly to prevent further granular loss.
Conclusion
Repairing granular loss on your roof is a critical maintenance task that can prolong the life of your roofing system and protect your home from water damage and other issues. By following the steps outlined in this comprehensive guide and taking preventive measures, you can ensure the longevity and durability of your roof.
Remember to prioritize safety at all times and, when in doubt, consult a roofing professional to assess and address any significant issues. With proper care and maintenance, your roof will continue to serve as a reliable shield for your home for years to come.

Recent Comments